
One of the biggest problems with classes is that the pages don't always seem to fit with the shapes and sizes of your photos. There are a few ways to tackle this easily.
1. Crop the photo.
Here, I had a vertical 4.5x6.5 photo mat, but my photo was horizontal. I cut my photo down to 4x4 and used the top of the photo mat for my title. You could also put journaling or an extra embellishment in the space left for the photo mat. Can't make it work? Grab that Un-du and flip or trim the photo mat instead. You'll also notice that I made this generic page into a themed page. Class pages are great to turn into themed pages, becuase you're most likely to run out of inspiration on things that you scrap all of the time, like birthdays.
2. Ignore the photo mats.
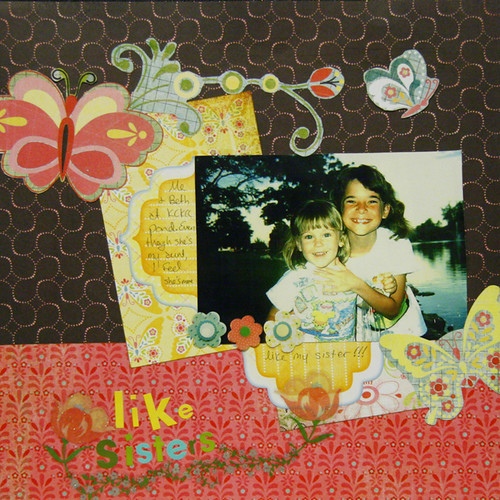 I liked these patterend photo mats too much to cover them up. I also wanted my photo to take center stage, so I didn't want to tilt it with the other elements. So I just treated the photo mats like part of the background and added journaling stickers to them (the sticker is actually cut in half). You'll also notice some extra elements, like the flower stickers and the journaling sickers, that weren't part of the class. Don't be afraid to add to class pages to jazz them up and make them your own.
3. Put the photo on the mat even if it's going in the wrong direction.
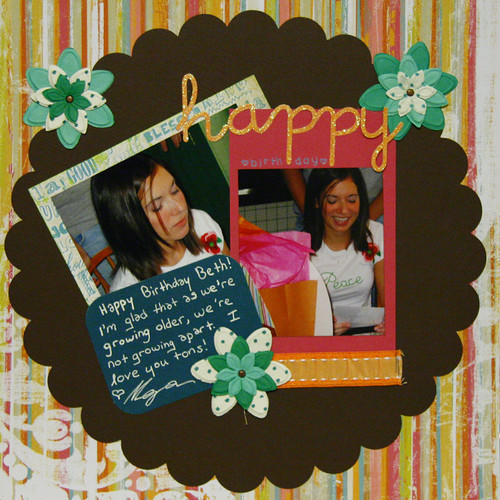
 On this page, instead of trying to crop the photo (which would not have really worked with this head shot) or flip the mat (which looked pretty silly), I just put the vertical photo on the horizontal mat without worrying about it. I used the extra space on the mat for an extra small photo. Notice I also added rub-ons to this page that weren't originally there. I love embellishments, and putting more of them on class pages makes the pages stand out from the other pages in my albums less.
Another common problem with class pages is that there just isn't enough space on them for all of the photos you want to use. While I usually recommend just picking the best photos to let your story shine, sometimes you just need more. Here are a few tips on squeezing extra photos into your class pages.
1. Let a photo mat do double duty.
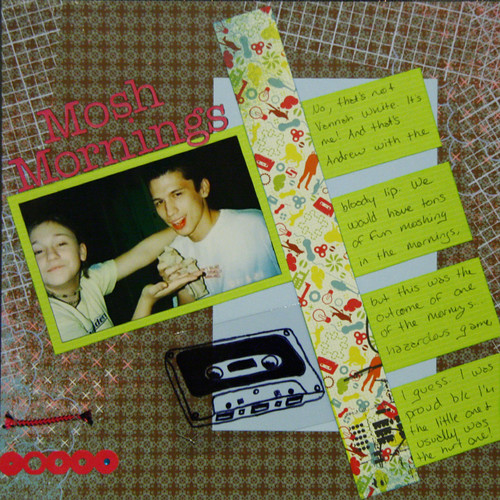
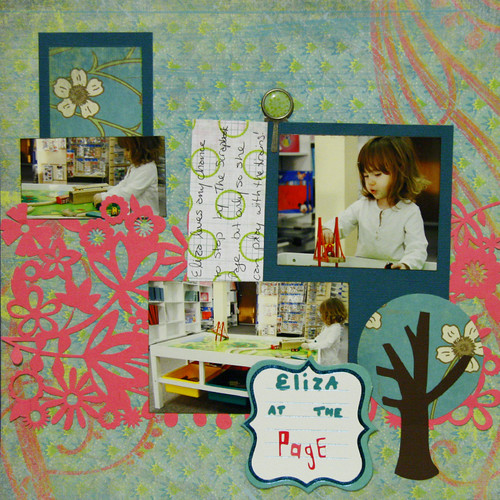 In this (unfinished) page above, I used some of the tricks for wonky photo mats to squeeze two photos onto one mat. I cropped the first one to fit inside the vertical mad and I didn't worry that the second one was completely within the confines of the allotted space. I can't wait to make a train image on my Silhouette so I can finish up the title on this page!
2. Shrink your pictures.
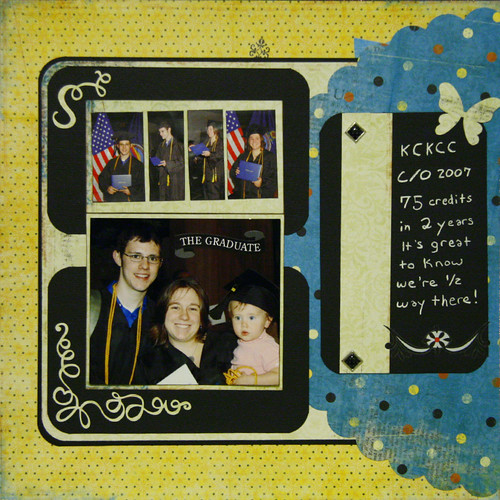 There was no way I was fitting five full-sized photos on this page, so shrinking them down was the way to go. Because the photos were dark and didn't contrast enough with the black mats, I added another off-white mat.
3. Stretch the layout into a double pager.
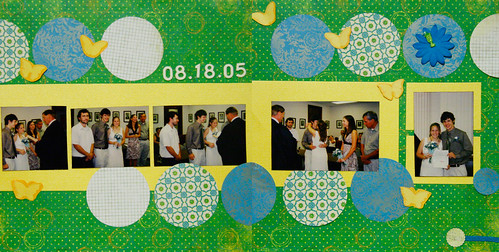 The left side of this double page layout was the original class page, and I just stretched the original design. It's also easy to mirror the original design. It's best to know that you want to turn the page into a double pager during the class, when the supplies are more likely to be available.
4. Turn photo mats into journaling blocks.
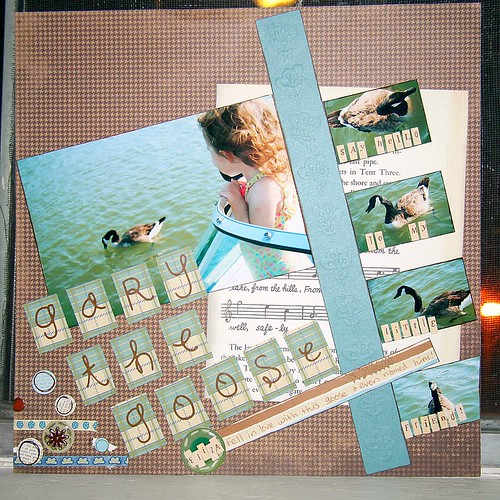
I'm sure it's rare, but sometimes you have too many photo mats and not enough photos. The solution here is simple. Use the space for journaling! You can also use the mat to add a title or extra embellishments.
P.S. Another class tip? Scraplift your class pages! I based this page on the page above. No one will ever know that two pages in your album are based on the same design! I scraplift myself all of the time.
If you have any scrapbooking questions or problems, leave me a comment or e-mail me! Maybe my next post will answer it!


No comments:
Post a Comment